muvis-align
Image registration pipeline for large volume EM and LM datasets, built on multiview-stitcher, with a napari plugin.
muvis-align handles x-y stitching and z reconstruction across image modalities, is designed for datasets in the terabyte range, and reads and writes the OME-Zarr next-generation file format throughout.
Quick start in your browser
With an account on a Slurm cluster (HPC) that has Apptainer, you can use the napari plugin in your web browser without installing Python or muvis-align yourself: it runs on the cluster, in a container.
You need:
- ssh access to the cluster's login node, ideally with an SSH key so you are not asked for your password
- a terminal: on Windows Git Bash (part of Git for Windows), on macOS and Linux the built-in one
- the scripts
xpra-connect.sh,xpra-run.shandxpra-pull.shtogether in one folder: download the repository as a ZIP and unzip it (or clone it)
Then, in that folder, run (on Windows in Git Bash, or as .\xpra-connect.sh ... from PowerShell):
bash xpra-connect.sh <user>@<login node>
The first time, this builds the container on the cluster, which takes longer. It then starts a job and opens napari
with the plugin in your browser, where you open your data from the cluster's storage. Closing napari ends the job;
Ctrl-C in the terminal disconnects and offers to cancel it. Add --pull to update to the latest version.
Your cluster's support team can tell you the login node's name and whether Apptainer is available; see
On a Slurm cluster for the options.
Installation
muvis-align needs Python 3.12 or later.
pip install muvis-align
Or, with napari and Qt, and the optional registration methods (Elastix, ANTs and CPD) included:
pip install "muvis-align[all]"
The command-line script (run.py), the example parameter files (resources/) and the
notebooks (notebooks/) are in the source repository,
not the pip package, so clone it to use those.
Three ways to run it
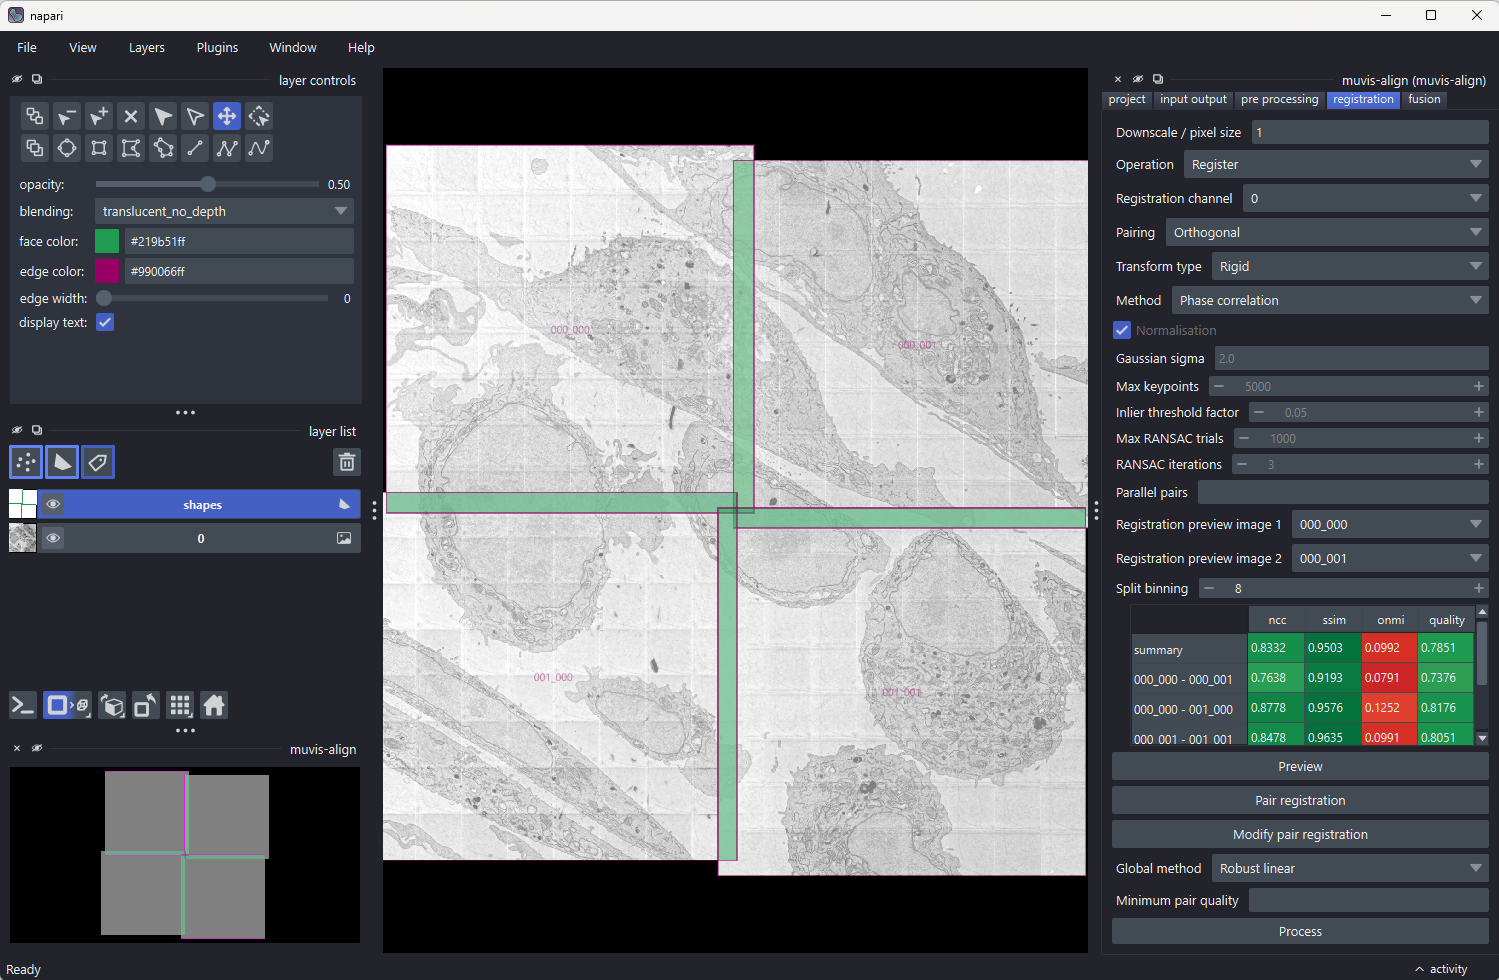
| napari plugin | Load a dataset, inspect the source layout, preview a single pair or the fused result, and run each step interactively. This is what to use to work out the parameters; on a cluster it needs no install (see the quick start). |
| Command-line pipeline | A YAML parameter file describing one or more operations, run with python run.py params.yml. This is what to use for batch and cluster runs. |
| Jupyter notebooks | The registration classes driven step by step from Python, from a complete pipeline to feature-matching and overlap visualisation. This is what to use to script a custom workflow or look inside a registration. |
The plugin and the pipeline keep separate configuration files, so a project set up in the plugin is not directly a pipeline parameter file.
The plugin can also run in a container, in the browser through Xpra: on a cluster with the quick start, elsewhere with the Dockerfile.
Getting started
- Install as above, or without Python use the quick start on a cluster.
- Open the napari plugin and follow the step-by-step guide to set up a project and work out your parameters. To try it first, open a sample from File → Open Sample → muvis-align.
- For batch runs, copy one of the example parameter files under
resources/and run it with the command-line pipeline. - To work from Python, start with
pipeline.ipynbin the notebooks.
Reference
- napari plugin - the interactive interface
- Pipeline parameters - every option the YAML file accepts
- Notebooks - worked examples and debugging workflows
- Technical overview - how the source implements NGFF, lazy data, FAIR metadata and resumable runs
- API reference - generated from the source
- Poster - project background and results
Links
- Source: github.com/ccp-volume-em/muvis-align
- Generated documentation: deepwiki.com/ccp-volume-em/muvis-align
- multiview-stitcher: github.com/multiview-stitcher/multiview-stitcher
Distributed under the MIT licence.